How To Store Dishes In A Studio Kitchen With One Cabinet
This site contains affiliate links, view the disclosure for more information.
One cabinet for all your dishes sounds limiting. But with the right approach, that single space can hold more than you’d expect. Here’s what we’ll cover.
Why Single-Cabinet Storage Works Better Than You Think
When counter space is tight and cabinet real estate is minimal, vertical organization becomes everything. The key is using the full height and depth of your cabinet, not just stacking plates in a pile. A well-organized single cabinet can function like a small pantry if you treat the space intentionally.
1. Start With a Realistic Dish Audit
Take everything out and assess what actually gets used. Those eight coffee mugs might seem necessary, but if you live alone or with one other person, four is plenty. Same goes for plates, bowls, and glasses.
Keep one full set per person, plus two extras for guests. This usually means four dinner plates, four bowls, four mugs, and four glasses. Anything beyond that takes up space you can’t afford to waste.
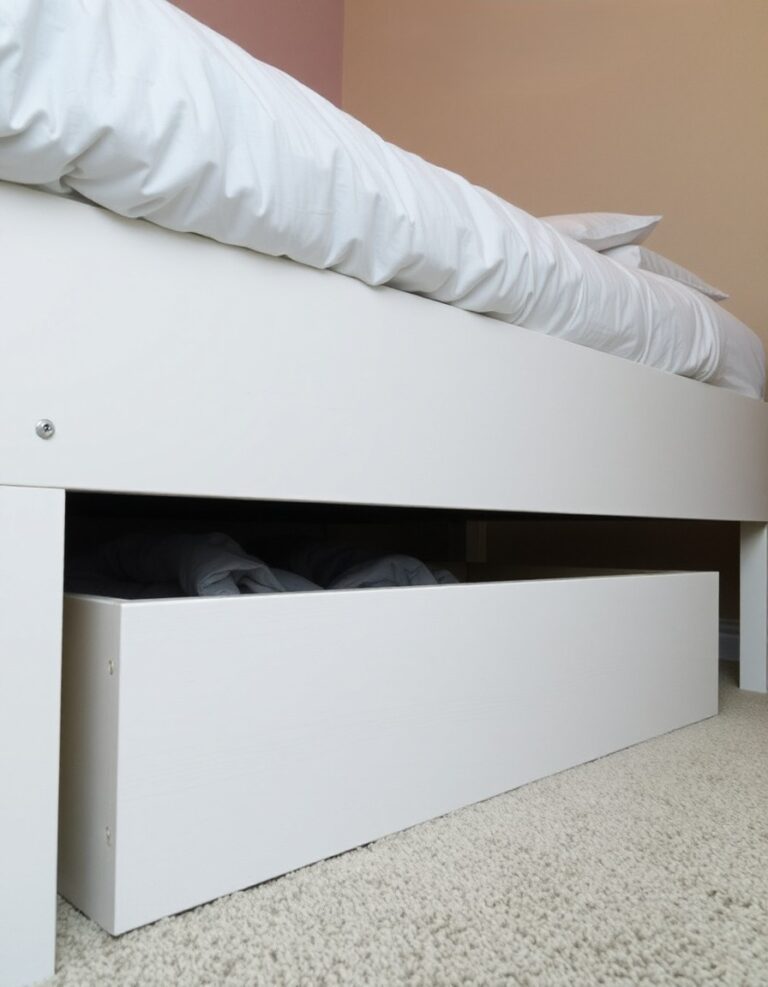
Store seasonal or special-occasion dishes elsewhere—under the bed, in a closet, or in a labeled box on a high shelf.
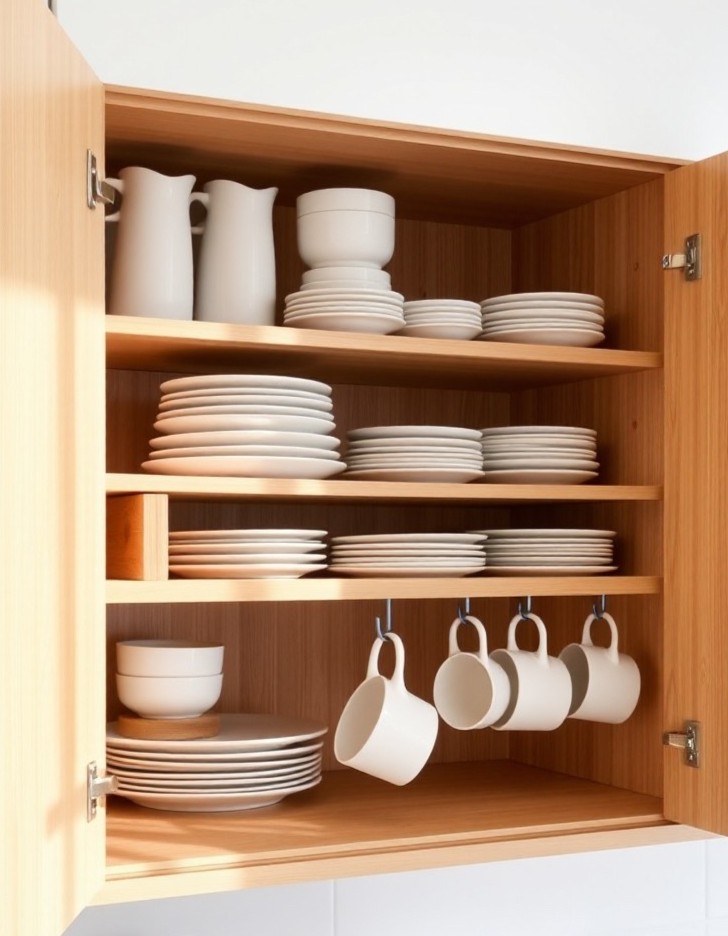
2. Invest in Stackable Shelf Risers
Shelf risers double your vertical space without requiring any installation. Place one or two inside the cabinet to create layers. This lets you stack plates on the bottom level and bowls or mugs on the riser above.
Look for risers that are sturdy metal or bamboo. Plastic versions can warp under weight over time.
Position the riser toward the back of the shelf so you can still access items in front without moving everything around.
3. Use Tension Rods to Divide Plates Vertically
Instead of stacking plates flat, store them upright like records. Install a tension rod (or two) vertically inside the cabinet to create slots. This keeps plates separated and easy to grab.
You can also use wire plate racks designed for cabinets. They work the same way and don’t require adjusting tension.
Vertical storage prevents chipping and makes it easy to pull out just one plate without lifting a stack.
Also Read: 8 Counter Organization Rules For Kitchens With Small Space
4. Hang Mugs on Adhesive Hooks
Cabinet doors are prime real estate. Stick adhesive hooks on the inside of the door and hang mugs by their handles. This frees up shelf space for items that can’t hang.
Choose hooks rated for the weight of ceramic mugs. Check them every few months to make sure the adhesive is still holding.
If the cabinet door feels cluttered, limit it to two or three mugs. The rest can nest inside each other on a shelf.
5. Nest Bowls and Glasses Strategically
Bowls nest naturally, so stack them by size with the largest on the bottom. Glasses can also nest if they taper slightly. Mixing bowl sizes in one stack wastes space and makes them unstable.
Group like items together—cereal bowls with cereal bowls, small prep bowls with prep bowls. This makes grabbing what you need faster and keeps stacks stable.
If you have both tall and short glasses, store short ones inside tall ones when they fit. Just keep in mind that this only works if the sizes match up cleanly.
6. Add a Rotating Tray for Small Items
Small plates, saucers, or ramekins can get lost in the back of a cabinet. A rotating tray keeps them accessible without digging. Spin it to reach what you need.
Choose one that fits the cabinet width. Measure before buying so it doesn’t crowd other items or block the door from closing.
Place the rotating tray on a lower shelf where you can see and reach everything easily.
Read More: 7 Wall-Mounted Storage Solutions For Cramped Kitchens
7. Store Lids and Flat Items in a Magazine Holder
If you’re storing any lids, cutting boards, or flat baking sheets in the same cabinet, a magazine holder keeps them upright and organized. Mount it to the side wall of the cabinet or place it on a shelf.
This trick works especially well for pot lids or small cutting boards that don’t have a designated drawer space.
Keeping flat items vertical saves several inches of shelf depth that would otherwise be wasted with horizontal stacking.
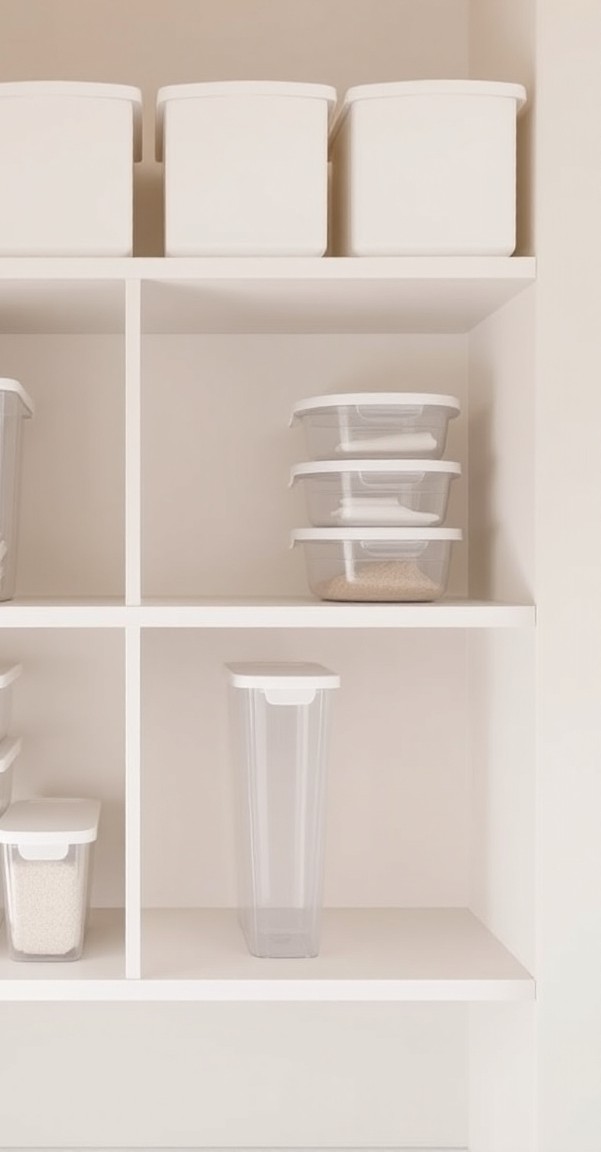
8. Use Clear Bins for Overflow Items
If you have a few extra items that don’t fit neatly into stacks or rows, place them in a small clear bin. This could be things like reusable straws, cloth napkins, or small serving utensils.
Clear bins let you see what’s inside without opening them. Label the front if you’re storing multiple bins.
Pull the entire bin out when you need something instead of shuffling items around. This keeps the cabinet tidy and prevents small pieces from getting buried.
9. Prioritize What Goes at Eye Level
The middle shelf should hold your most-used items. Plates and everyday bowls belong here. Mugs and glasses can go higher or lower depending on how often you reach for them.
Reserve the top shelf for items used less frequently, like serving bowls or extra glassware. The bottom shelf can hold heavier items or things you don’t mind crouching to grab.
Organizing by frequency of use reduces how much time you spend rearranging.
Also See: 10 Appliance Storage Solutions For Tiny Kitchens
10. Keep a Dish Rotation System
When you wash and dry dishes, place them at the back of the stack or row. This rotates your dishes naturally and prevents the same plate or mug from sitting unused for weeks.
It’s a small habit, but it keeps everything in circulation. Rotation also helps you notice if something is cracked or chipped before it becomes a problem.
This works especially well with glasses and mugs that tend to get pushed to the back.
What to Avoid
Don’t overload the cabinet just because everything technically fits. If you have to remove three items to reach one plate, the system isn’t working.
Avoid storing anything unrelated to dishes in this cabinet. Mixing food storage containers, cleaning supplies, or pantry items creates clutter and makes it harder to find what you need.
Skip the decorative dish sets unless you actually use them. A studio kitchen doesn’t have room for items that only look nice.
Final Thoughts
One cabinet doesn’t mean settling for disorganization or frustration. With a few smart tools and a streamlined dish collection, that single space can handle daily use without feeling cramped. Focus on vertical storage, keep only what you need, and make every inch count. You’ll be surprised how functional a small setup can be.