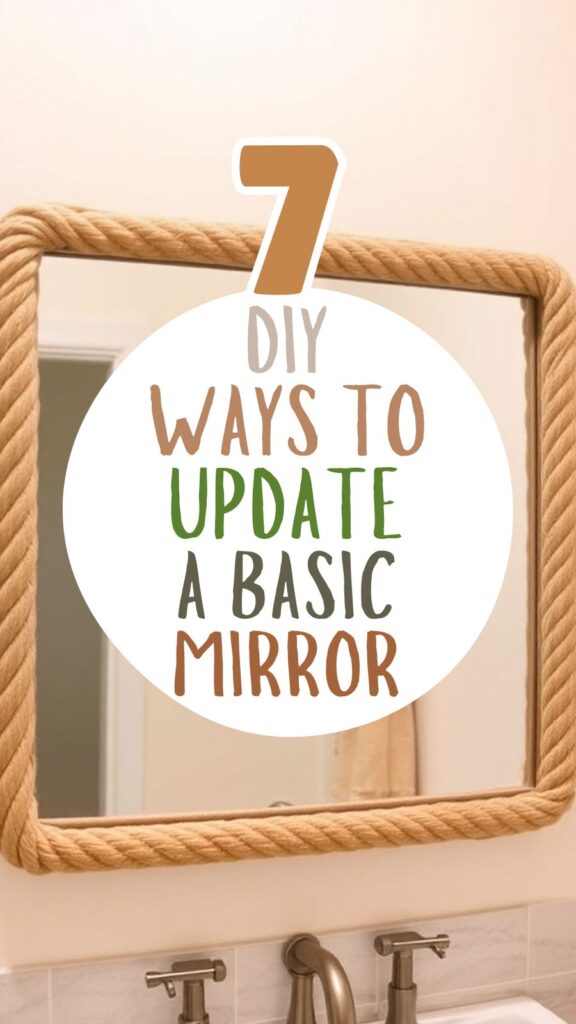
7 DIY Ways to Update a Basic Mirror
This site contains affiliate links, view the disclosure for more information.
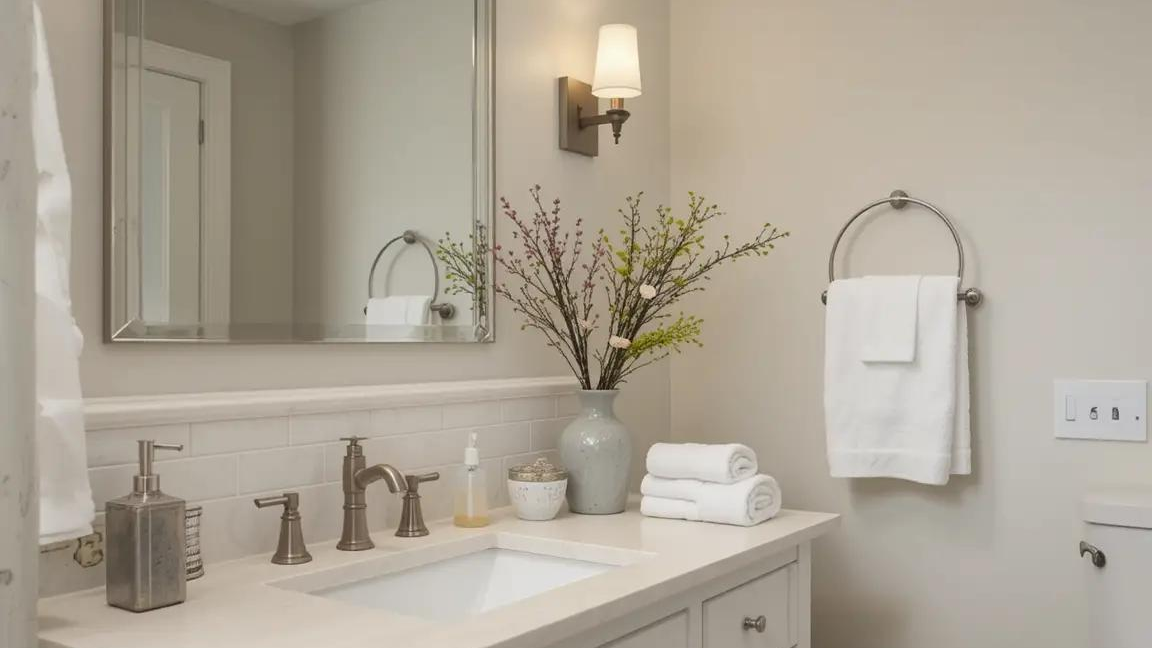
Looking at that plain mirror hanging in your bedroom or bathroom? Transform your basic mirror into a stunning focal point with these seven creative DIY mirror updates that will completely change your room’s entire look. These simple projects will help you create a custom appearance that perfectly matches your home’s style while adding instant visual interest to any space.
Whether you’re working with a standard rectangular mirror from the store or have an old mirror that needs refreshing, these DIY ways to update a basic mirror will give you professional-looking results without hiring a decorator.
Rope Frame Mirror Makeover
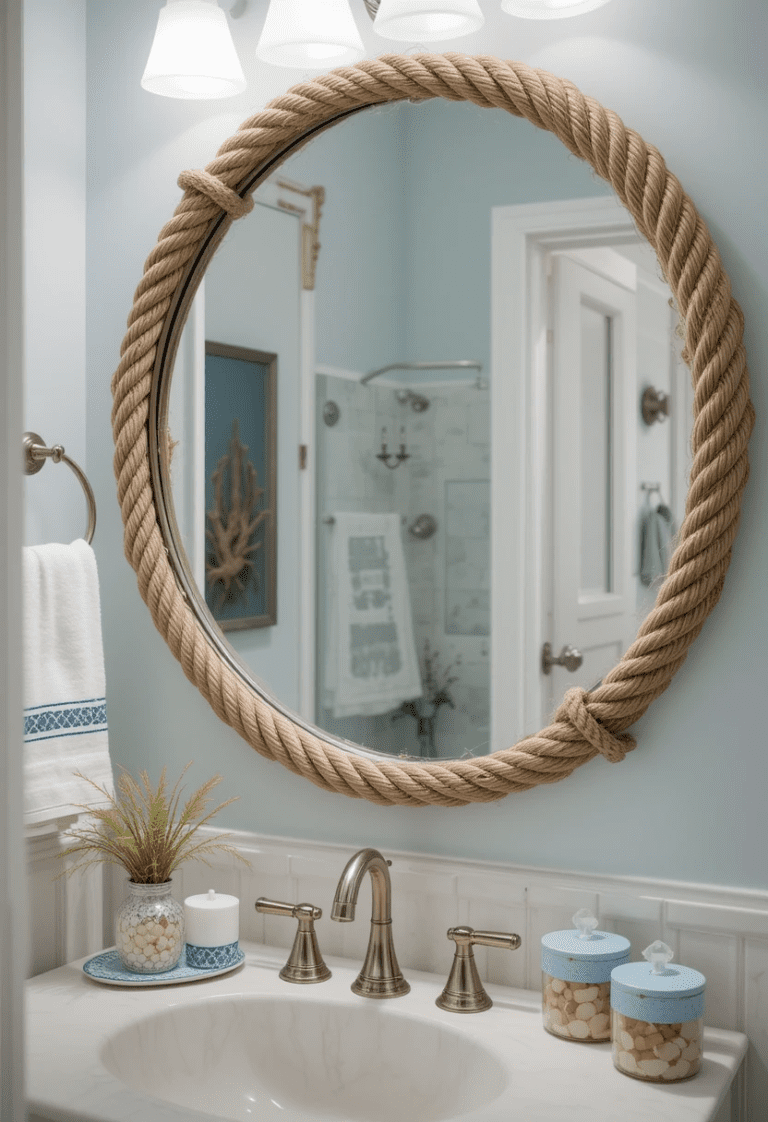
Creating a rope-wrapped frame instantly transforms any basic mirror into a nautical or farmhouse-inspired piece. This DIY mirror update works especially well for bathroom mirrors and coastal-themed rooms.
Materials needed:
- Natural jute rope (3/8 inch thick)
- Hot glue gun and glue sticks
- Scissors
- Measuring tape
Start by measuring your mirror’s perimeter and purchase rope that’s three times longer than this measurement. Begin gluing the rope at one corner, wrapping it tightly around the existing frame. Overlap each layer slightly to avoid gaps, and secure the end with extra glue. This DIY way to update a basic mirror typically takes 2-3 hours to complete.
The rope texture adds warmth and dimension while maintaining the mirror’s functionality. This technique works particularly well for rectangular mirrors in powder rooms or entryways where you want to create a welcoming atmosphere.
Wood Frame Addition
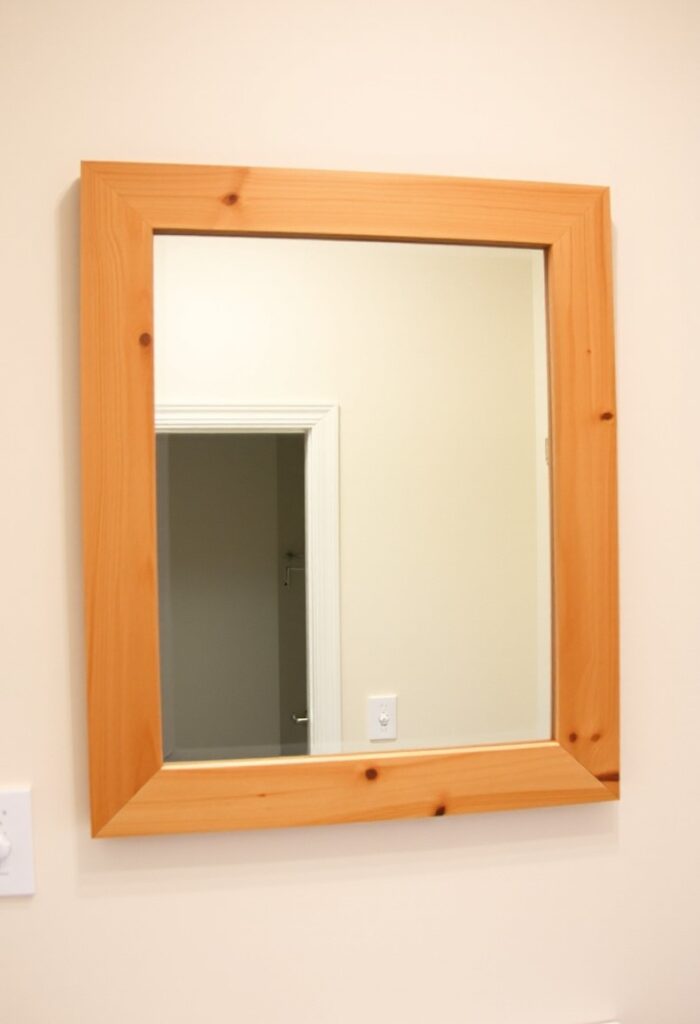
Adding a wooden frame is one of the most popular DIY ways to update a basic mirror because it works with virtually any decor style. Choose reclaimed barn wood for rustic elegance, sleek boards for modern appeal, or ornate molding for traditional elegance.
Step-by-step process:
- Measure your mirror and cut four pieces of wood accordingly
- Create 45-degree angles at each corner for professional-looking joints
- Sand all pieces smooth and apply your chosen stain or paint
- Attach the frame pieces using wood glue and finishing nails
- Mount the completed frame around your basic mirror
Pine boards offer an accessible option for beginners, while hardwoods like oak create a more premium finish. This DIY mirror update can dramatically change your room’s character depending on your wood selection and finish choice.
For bathroom mirrors, seal the wood with polyurethane to protect against moisture damage. This extra step ensures your updated mirror will last for years while maintaining its beautiful appearance.
Decorative Molding Upgrade
Transform your basic mirror using architectural molding pieces from the hardware store. This elegant DIY mirror update creates the illusion of an expensive custom frame with readily available materials.
Popular molding options:
- Crown molding for sophisticated appeal
- Chair rail molding for subtle dimension
- Decorative rosettes at corners for Victorian elegance
- Fluted trim for classical elegance
Cut your molding to fit around the mirror’s perimeter, creating mitered corners for seamless joints. Prime and paint the pieces before installation to achieve a cohesive look. Use construction adhesive to secure the molding directly to the wall around your mirror.
This technique works exceptionally well for large bathroom mirrors, creating the appearance of built-in cabinetry. The finished result looks like a custom millwork project that transforms your entire bathroom’s aesthetic.
Also Read: How to Turn a Towel Rack Into a Visual Feature
Tile Border Enhancement
Creating a tile border around your basic mirror adds texture, color, and personality while protecting the wall from water damage in bathrooms. This DIY way to update a basic mirror offers extensive customization possibilities.
Tile options to consider:
- Subway tiles for classic appeal
- Mosaic tiles for intricate patterns
- Natural stone tiles for organic texture
- Glass tiles for enhanced light reflection
Begin by planning your layout and purchasing tiles with extra pieces for potential breakage. Apply tile adhesive in small sections, working methodically around the mirror’s perimeter. Use tile spacers to maintain consistent gaps, and finish with grout in a complementary color.
This DIY mirror update requires patience but creates a truly custom look that enhances your mirror’s functionality. The tile border becomes a permanent feature that adds value to your space.
Sunburst Design Creation
Build a dramatic sunburst frame around your basic mirror using wooden dowels or metal rods. This striking DIY mirror update creates a bold focal point that works especially well in entryways and living spaces.
Materials for wooden sunburst:
- 1/4 inch wooden dowels (50-60 pieces)
- Circular piece of plywood slightly larger than your mirror
- Wood stain or paint
- Strong adhesive
- Measuring tools
Cut dowels to varying lengths (18-36 inches) for natural movement and visual interest. Mark evenly spaced points around your plywood base and glue each dowel in place, radiating outward from the center. Once dry, attach your mirror to the center of the plywood.
This DIY way to update a basic mirror creates impressive visual impact that draws attention throughout the room. The finished piece becomes a statement element that serves both functional and decorative purposes.
Paint Treatment Techniques
Sometimes the simplest DIY mirror update involves creative paint applications around your basic mirror. These techniques work well for renters who cannot modify permanent fixtures or anyone wanting a quick transformation.
Effective paint treatments:
- Faux finishing around the mirror’s perimeter
- Stenciled patterns for geometric interest
- Color blocking for modern appeal
- Ombre effects for subtle gradient beauty
Create a painted frame directly on the wall by carefully taping around your mirror and applying your chosen technique. Use high-quality brushes and take time with prep work for professional results that last.
This approach offers maximum flexibility and can be easily changed when you want a fresh look. Experiment with metallic paints or chalk paint for different finishes that complement your basic mirror and existing decor.
Also Read: How to Refresh Your Bathroom in One Weekend
Lighting Integration
Enhance your basic mirror by incorporating lighting elements that improve both function and aesthetics. This DIY mirror update particularly benefits bathroom and vanity mirrors where good lighting is essential for daily routines.
Lighting options:
- LED strip lights behind the mirror for dramatic backlighting
- Vanity bulbs around the perimeter
- Pendant lights flanking the mirror for ambient illumination
- Sconces mounted beside the mirror for task lighting
Plan your electrical needs carefully and consider hiring a professional electrician for hardwired options. Battery-powered LED strips offer a simpler installation process for renters or DIY beginners who want immediate results.
This DIY way to update a basic mirror transforms not just the mirror’s appearance but the entire room’s ambiance. The improved illumination enhances the mirror’s functionality while creating an upscale atmosphere.
Additional Enhancement Ideas
Beyond the seven main techniques, consider combining multiple approaches for even more dramatic results. A basic mirror can become truly spectacular when you layer different elements together.
Combination techniques:
- Wood frame with integrated lighting
- Tile border with decorative corner elements
- Paint treatment combined with rope detailing
- Sunburst design with metallic finish accents
The key to successful DIY mirror updates lies in choosing techniques that complement your existing decor while reflecting your personal style. Consider your room’s color scheme, architectural features, and overall design goals when selecting your approach.
Each of these DIY ways to update a basic mirror can be adapted to match different skill levels and time commitments. Start with simpler techniques like paint treatments, then progress to more complex projects as your confidence grows.
Conclusion
These seven DIY ways to update a basic mirror prove that stunning home transformations don’t require professional installation or extensive experience. Whether you choose the rustic charm of rope wrapping, the elegance of molding, or the drama of a sunburst design, each project offers a rewarding path to custom style.
Frequently Asked Questions
How long does it take to complete DIY ways to update a basic mirror? Most DIY mirror updates can be completed in 2-6 hours, depending on the complexity of your chosen method. Simple paint treatments take the least time, while tile borders require more detailed work spread across multiple days for proper drying and curing.
What tools do I need for basic mirror DIY projects? Essential tools include a measuring tape, level, drill with bits, hot glue gun, sandpaper, and basic hand tools. Specific DIY ways to update a basic mirror may require additional tools like a miter saw for wood frames or tile cutters for border projects.
Can renters safely update a basic mirror without damaging walls? Yes, several DIY mirror update techniques work perfectly for renters, including removable adhesive strips, rope wrapping, and paint treatments that don’t require permanent modifications. Always check with your landlord before making significant changes to fixtures.
Which DIY mirror update works best for small bathroom spaces? For small bathrooms, rope wrapping or decorative molding creates visual interest without overwhelming the space. These DIY mirror updates add texture and dimension while maintaining the room’s proportions and enhancing functionality.
How do I choose the right DIY way to update a basic mirror for my decor style? Consider your existing color scheme, furniture style, and room size when selecting your DIY mirror update. Modern spaces benefit from clean lines and metallic accents, while traditional rooms work well with wood frames and classic molding treatments.