How to Get Scratches Out of a Dining Table
This site contains affiliate links, view the disclosure for more information.
That beautiful dining table you love just got its first battle scar, and your heart sank a little. Whether it’s from sliding dishes, kids’ art projects, or just daily life happening, scratches on your dining table don’t have to be permanent reminders of mishaps.
You can get scratches out of your dining table using simple household items and techniques that take just minutes to try. This guide covers everything from quick fixes for light scratches to deeper repair methods that’ll make your table look like new again.
Understanding Your Table’s Finish Before You Start
The key to successfully removing scratches is knowing what type of finish your dining table has. Most dining tables have one of these common finishes:
- Polyurethane or lacquer – Hard, glossy protective coatings
- Oil-based finishes – Natural wood oils that penetrate the wood
- Wax finishes – Traditional protective wax coatings
- Veneer – Thin wood layer over composite material
Not sure what finish you have? Try this simple test: put a small drop of water on an inconspicuous area. If it beads up, you likely have polyurethane. If it soaks in slowly, it’s probably an oil finish.
Different finishes respond to different repair methods, so identifying yours first saves time and prevents damage.
Quick Fixes for Light Surface Scratches
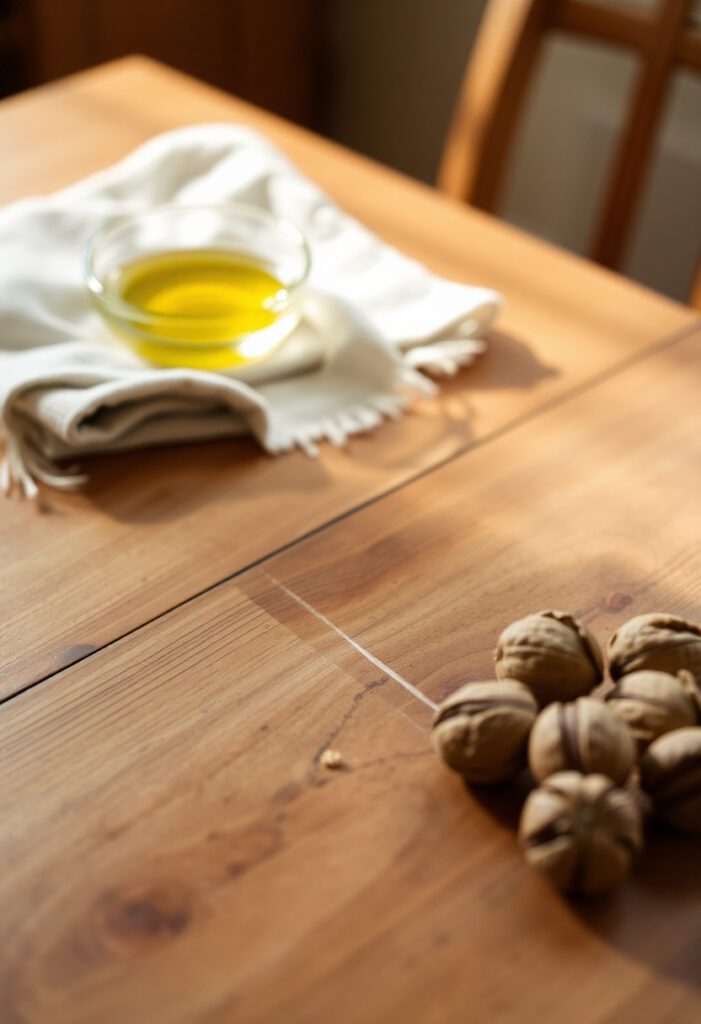
The Walnut Trick That Actually Works
For light scratches on wood finishes, grab a walnut from your pantry. This isn’t just an old wives’ tale – it genuinely works for minor surface scratches.
Here’s how to do it:
- Remove the walnut from its shell
- Rub the meat of the walnut directly into the scratch, following the wood grain
- Let the natural oils sit for 5-10 minutes
- Buff gently with a soft cloth
The natural oils in walnuts can help disguise light scratches and blend them into the surrounding wood tone. This method works best on darker wood finishes.
Also Read: How to Keep Your House Clean When Life Gets Too Busy
Olive Oil and Vinegar Method
Mix equal parts olive oil and white vinegar for a gentle scratch treatment that’s safe for most finishes.
Steps to follow:
- Combine 1 tablespoon olive oil with 1 tablespoon white vinegar
- Apply with a soft cloth, rubbing in circular motions
- Let it penetrate for 10 minutes
- Wipe clean with a damp cloth, then dry thoroughly
This combination helps condition the wood while the mild acidity in vinegar can help minimize scratch visibility.
Deeper Scratch Repair Methods
Using Wood Stain Markers
Wood stain markers are your best friend for scratches that have gone through the finish to the bare wood. These are available at any hardware store and come in dozens of wood tones.
Application process:
- Clean the scratched area thoroughly
- Choose a marker that matches your table’s wood tone (test in an inconspicuous spot first)
- Color in the scratch, staying within the scratch lines
- Immediately wipe excess with a cloth
- Allow to dry completely before applying finish
The key is building up color gradually – you can always add more, but it’s harder to remove excess.
Mayonnaise Method for Water Rings and Light Scratches
This might sound crazy, but mayonnaise contains oils that can help get scratches out of dining table surfaces, especially when combined with ash.
Here’s the technique:
- Mix 1 tablespoon mayonnaise with a pinch of cigarette ash or very fine wood ash
- Apply to the scratch and let sit for 15 minutes
- Rub gently in the direction of the wood grain
- Wipe clean and polish as usual
The oils moisturize the wood while the ash acts as a very mild abrasive.
Read More: How to Reset Your Kitchen in 15 Minutes Every Night
Professional-Level Repair Techniques
Sanding and Refinishing Small Areas
For deeper gouges, you’ll need to sand and refinish that specific area. This sounds intimidating, but it’s manageable for small scratches.
Materials needed:
- Fine-grit sandpaper (220-320 grit)
- Wood stain matching your table
- Clear protective finish (polyurethane or whatever your table has)
- Small brushes
- Tack cloth
Process overview:
- Sand the scratched area lightly, following the grain
- Clean with tack cloth to remove all dust
- Apply matching stain with a small brush
- Let dry completely according to manufacturer’s instructions
- Apply thin coat of protective finish
- Sand lightly between coats if applying multiple layers
Start with the finest grit sandpaper possible – you can always move to coarser grits if needed, but you can’t undo aggressive sanding.
Heat and Steam Method for Dents
Sometimes what looks like a scratch is actually a small dent where wood fibers have been compressed.
Try this gentle approach:
- Place a damp cloth over the dent
- Apply a warm (not hot) iron for 10-15 seconds
- Remove and check – the steam can cause compressed wood fibers to swell back up
- Repeat if necessary, being careful not to damage the finish
This method works because it’s actually restoring the wood rather than covering damage.
When to Use Wood Filler
For gouges deeper than the wood finish, wood filler might be your best option. Modern wood fillers come in various tones and can be incredibly effective.
Application steps:
- Clean out any loose debris from the scratch
- Apply wood filler with a putty knife, slightly overfilling
- Let dry according to package directions
- Sand smooth with fine-grit sandpaper
- Stain to match surrounding wood
- Apply protective finish
Choose a wood filler that’s slightly lighter than your wood – it’s easier to darken with stain than to lighten an already-dark filler.
Prevention Tips to Avoid Future Scratches
The best scratch repair is preventing scratches in the first place. Here are simple habits that make a huge difference:
Daily protection strategies:
- Use placemats and table runners consistently
- Place felt pads under decorative items
- Never drag dishes or serving pieces across the surface
- Keep a designated spot for keys and other potentially scratchy items
Consider a glass top protector for high-use dining tables – it’s invisible but provides excellent scratch protection while still showing off your beautiful wood.
How to Get Scratches Out of a Dining Table: What Not to Do
Avoid these common mistakes that can make scratches worse:
- Don’t use furniture polish on raw scratches – it can seal in the damage
- Avoid harsh abrasives like steel wool on finished surfaces
- Never use bleach or ammonia-based cleaners – they can damage wood and finishes
- Don’t ignore the direction of wood grain when applying any treatment
Test any method in an inconspicuous area first – what works on one table might not work on yours.
Read More: 12 Kitchen Decluttering Rules for a Clutter-free Space
Quick Reference: Match Your Method to Your Scratch
Not sure which approach to try first? Use this quick guide:
Light surface scratches: Start with the walnut method or olive oil mixture Medium scratches that catch your fingernail: Try wood stain markers or mayonnaise method Deep gouges: Use wood filler or consider professional refinishing Water rings with scratches: Heat and steam method, followed by appropriate scratch repair
Remember, you don’t need to tackle every scratch at once – start with the most noticeable ones and work your way through.
Final Thoughts
Your dining table tells the story of family meals, homework sessions, and countless memories. A few scratches don’t diminish its value – they just mean it’s been well-loved and well-used.
With these methods, you can get scratches out of your dining table and restore its beauty without breaking the bank or calling in professionals. Most scratches respond well to simple treatments you can do in under an hour.
Which method will you try first on your table? Start with the gentlest approach for your scratch type, and remember – patience and the right technique will give you better results than rushing through the process.