Skip to content
Does your bathroom feel like a chaotic maze of toiletries, towels, and mystery items you forgot you owned? You’re not alone. That cramped feeling when you’re trying to find your toothbrush among a sea of products, or the daily frustration of items tumbling out of overstuffed cabinets, is a struggle most of us know all too well.
The good news? You don’t need to spend money on fancy organizers or storage solutions to transform your bathroom into an organized, functional space. With some strategic thinking and items you already have at home, you can create a bathroom that feels spacious, calm, and surprisingly efficient.
This guide will walk you through a proven system to declutter and organize your bathroom using only what you already own, turning your chaotic space into a model of efficiency in just a few hours.
What You’ll Need Before You Start
Before diving in, gather these common household items:
Essential supplies:
- Empty shoeboxes or small cardboard boxes
- Clean jars or containers (mason jars, yogurt containers, etc.)
- Rubber bands or hair ties
- Small towels or washcloths for cleaning
- Trash bags
- A donation box or bag
Optional items that help:
- Drawer dividers (or make your own with cardboard)
- Command strips or hooks you already own
- Small baskets or containers from other rooms
- Labels and a pen
Time needed: 2-4 hours for a complete bathroom organization
Step-by-Step Bathroom Organization Process
Step 1: Empty Everything Out (30 minutes)
Start by completely clearing your bathroom surfaces, drawers, and cabinets. Yes, everything needs to come out. Place items on your bed or a large table where you can see everything clearly.
This might feel overwhelming at first, but it’s crucial for understanding exactly what you’re working with. You’ll likely discover products you forgot about, duplicates you didn’t know you had, and items that somehow migrated from other rooms.
Step 2: The Great Bathroom Purge (45 minutes)
Now comes the most important part: deciding what stays and what goes. Create three piles:
Keep pile: Items you use regularly and are in good condition Toss pile: Expired products, broken items, or things you haven’t touched in 6+ months Donate pile: Unopened products you won’t use or duplicates in good condition
Quick decision rules:
- If it’s expired, toss it immediately
- If you haven’t used it in the last 6 months, you probably don’t need it
- Keep only one backup of essentials like toothpaste or shampoo
- Be honest about products you bought but never actually use
Step 3: Categorize Your Keepers (20 minutes)
Group your “keep” items into logical categories:
- Daily essentials: Toothbrush, toothpaste, face wash
- Hair care: Shampoo, conditioner
- Skin care: Moisturizers, treatments, cleansers
- Medications: Prescription and over-the-counter
- Grooming tools: Nail clippers, combs, brushes
- Cleaning supplies: Toilet paper, cleaning products
- Towels and linens
Step 4: Assign Prime Real Estate (30 minutes)
The key to a functional bathroom is strategic placement. Follow these placement principles:
Eye-level and easy reach: Daily essentials you use every morning and night Lower shelves/drawers: Heavier items and less frequently used products Higher shelves: Backup supplies and occasional-use items Near the sink: Skincare and dental care items Shower area: Only current shower products (not five half-empty bottles)
Step 5: Create Storage Solutions from What You Have (45 minutes)
Transform everyday items into bathroom organizers:
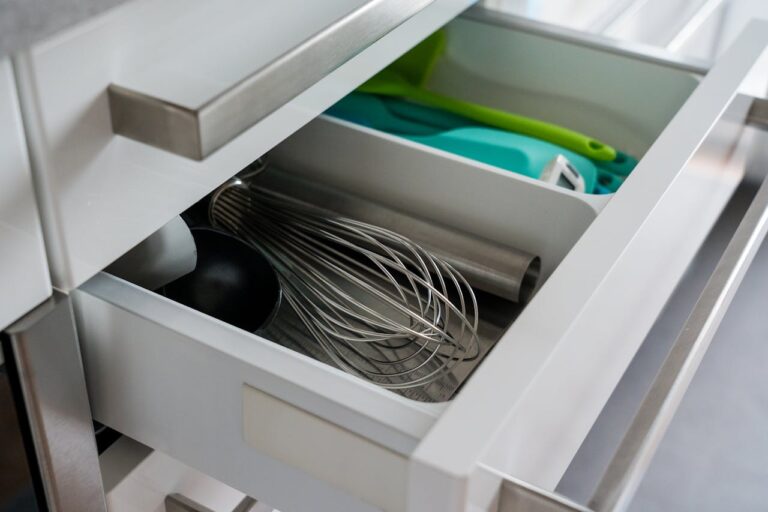
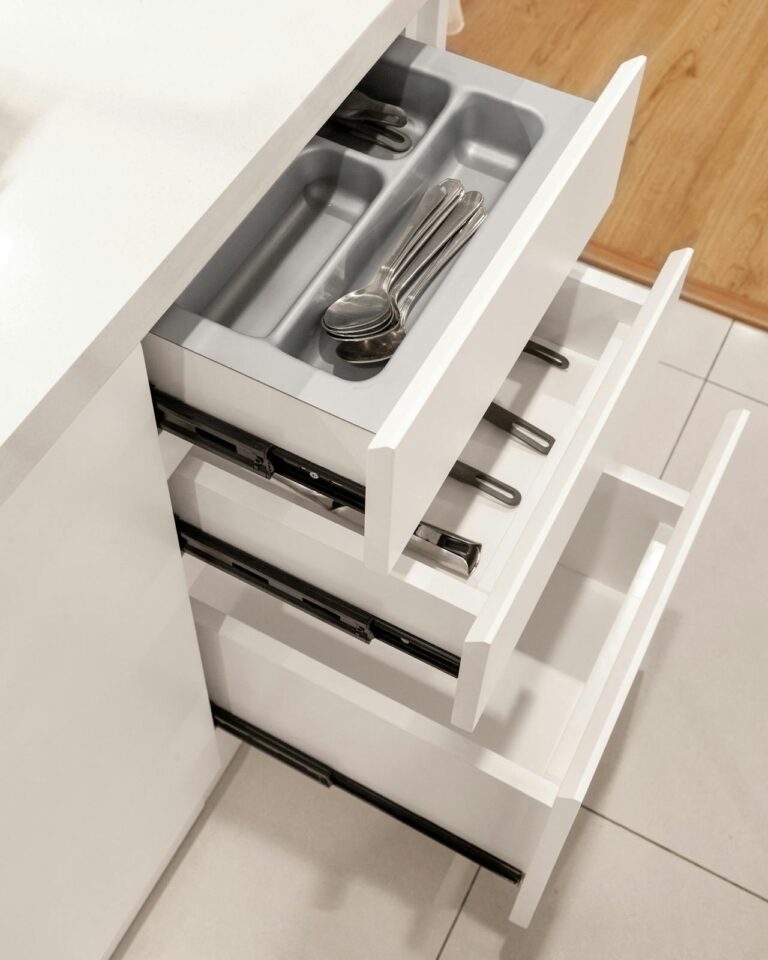
Drawer organization: Cut shoeboxes to fit your drawers and create custom compartments for small items like nail clippers, hair ties, and medications.
Under-sink organization: Use tall containers or jars to corral cleaning supplies and keep them from tipping over. Stack similar items in clear containers so you can see what’s inside.
Counter space: Repurpose small jars or containers to hold frequently used items like cotton swabs, bobby pins, or hair ties. Group items by function to create “stations.”
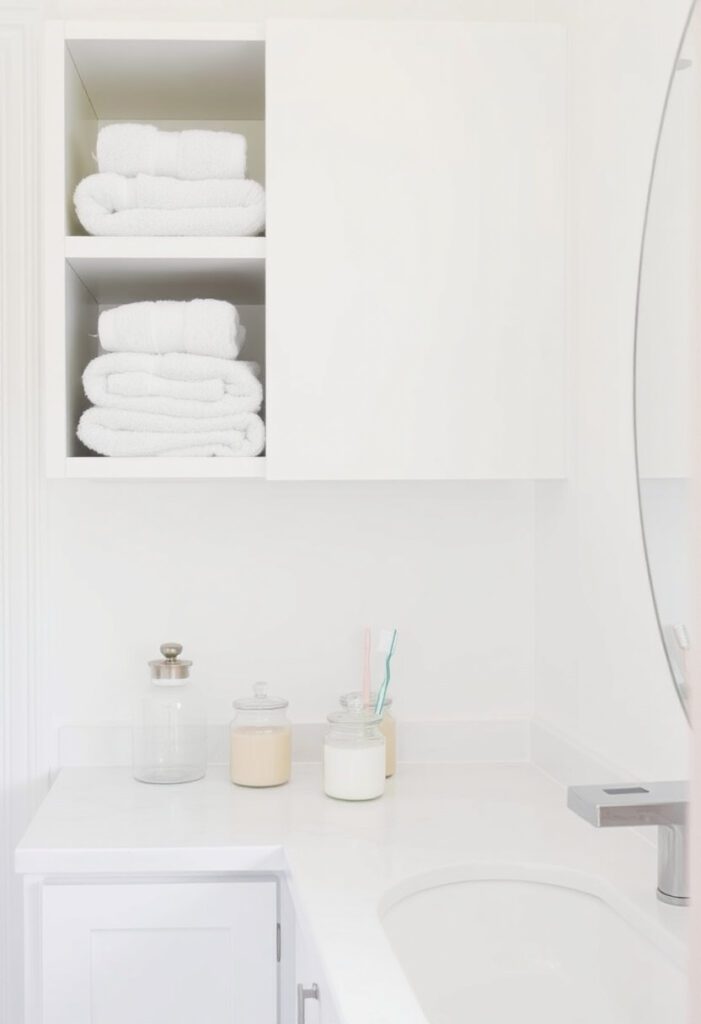
Vertical space utilization: Roll towels instead of folding them to fit more in the same space. Use the inside of cabinet doors by taping up lightweight items like nail files or small tubes.
Step 6: Implement the “One In, One Out” System (10 minutes)
Create a sustainable system by establishing this simple rule: when you bring a new product into the bathroom, something else must leave. This prevents the gradual accumulation that leads to clutter creeping back in.
Designate one small container as your “overflow” area for when you accidentally acquire too much of something.
Also Read: How to Get Musty Smells Out of Storage Bins: Complete Guide to Fresh Storage Solutions
Common Mistakes to Avoid
Mistake #1: Keeping Everything “Just in Case”
Many people hold onto expired medications, nearly empty bottles, or products they dislike because they might need them someday. This creates clutter without providing real value.
Solution: Be ruthless during the purging phase. If you haven’t reached for something in six months, you probably won’t miss it.
Mistake #2: Organizing Before Decluttering
Trying to organize items you don’t actually need or use is like trying to fit a square peg in a round hole. You’ll spend time and energy creating systems for things that should just go.
Solution: Always declutter first, organize second. The less you have, the easier it is to keep organized.
Mistake #3: Creating Complicated Systems
Elaborate organizational systems often fail because they require too much daily maintenance. If your system has more than three steps, it’s probably too complex.
Solution: Keep it simple. Every item should have one obvious home that makes sense in your daily routine.
Troubleshooting Common Organization Problems
Problem: Your System Falls Apart After a Week
Likely cause: Your organizational system doesn’t match your actual habits.
Solution: Observe how you naturally move through your morning and evening routines, then adjust your organization to support those patterns rather than fighting them.
Problem: You Can’t Fit Everything Even After Decluttering
Likely cause: You may need to declutter more aggressively, or your bathroom genuinely lacks adequate storage.
Solution: Revisit your “keep” pile with fresh eyes. Consider whether you really need three different face moisturizers or if some items could live elsewhere in your home.
Problem: Family Members Don’t Follow the New System
Likely cause: The system is too complicated or doesn’t make sense to others.
Solution: Simplify further and involve family members in creating the system. People are more likely to maintain something they helped create.
Read More: 7 DIY Ways to Update a Basic Mirror
Setting Realistic Expectations
Timeline: Expect to spend 2-4 hours on the initial organization, depending on how much you need to declutter and the size of your bathroom.
Immediate results: You’ll see dramatic improvement right away – more counter space, easier access to daily items, and a generally calmer feeling in the space.
Ongoing maintenance: Plan to spend 5-10 minutes weekly tidying and about 30 minutes monthly doing a mini-declutter to prevent accumulation.
What won’t be perfect: Small bathrooms will always feel somewhat cramped, and you may still need to store some items outside the bathroom if space is extremely limited. That’s completely normal.
Adjustment period: It may take 2-3 weeks to feel completely comfortable with your new system as you adjust your habits.
Pro Tips for Long-Term Success
Create Maintenance Habits
Weekly tidy: Every Sunday, spend 10 minutes putting everything back in its designated spot and wiping down surfaces.
Monthly mini-purge: Once a month, quickly scan for empty containers, expired products, or items that have migrated from their homes.
Maximize Vertical Space
Stack towels vertically instead of horizontally – you can see each towel and they take up less space. Use the same principle for washcloths and other linens.
Implement the “Touch It Once” Rule
When you finish using something, put it directly back in its designated spot rather than setting it down “temporarily.” This prevents the gradual accumulation of clutter.
Use the “Guest Test”
Periodically imagine a guest needs to find something in your bathroom. If they couldn’t locate toilet paper, towels, or basic supplies within 30 seconds, your system needs adjustment.
Create Visual Boundaries
Even with improvised containers, create clear boundaries for different categories. When everything has a designated space, it’s much easier to spot when something is out of place.
Your Organized Bathroom Success Story
Congratulations! You’ve just transformed your bathroom from a source of daily frustration into a calm, functional space using only items you already owned. Your morning routine will feel smoother, you’ll easily find what you need, and you’ll save time and reduce stress.
The system you’ve created is sustainable because it works with your natural habits rather than against them. As you maintain these new organizational patterns, they’ll become second nature.
Your next step: Consider applying these same principles to other small spaces in your home. Many people find success organizing their kitchen drawers, bedroom closets, or home office using similar decluttering and categorizing strategies.
Remember, the goal isn’t perfection – it’s creating a space that works for your daily life. Your organized bathroom is proof that effective organization doesn’t require expensive solutions, just thoughtful systems and consistent habits.
Read More: How to Add Storage in a Bathroom Without Changing Layout