This site contains affiliate links, view the disclosure for more information.
A crowded dish drying rack can make your kitchen feel cluttered, even when everything else is clean. The good news is that small adjustments to how you load and maintain your dish rack storage can help keep things looking tidier. Here’s how to make the most of your drying space.
Why Dish Drying Racks Get Overcrowded So Quickly
Most dish drying racks aren’t designed with much flexibility in mind. Plates, bowls, cups, and utensils all compete for the same limited space.
When items overlap or lean awkwardly, water doesn’t drain properly. That creates a cluttered look and can slow down drying time.
1. Load Larger Dishes First for Better Dish Drying Rack Organization
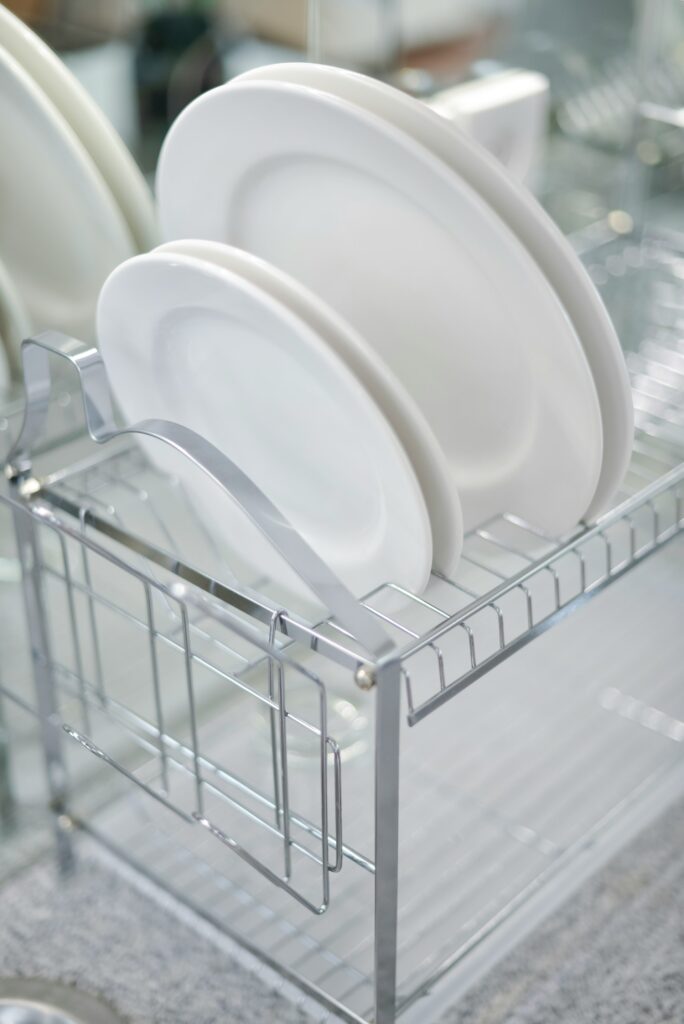
Start with your biggest plates and bowls. Place them toward the back or sides of the rack where there’s usually more vertical clearance.
Smaller items like cups and bowls can nestle into the remaining spaces. This approach creates a natural flow that uses the available room more efficiently.
You might notice that loading in this order also helps with stability. Heavier items on the bottom tend to keep everything in place.
2. Use the Utensil Holder for More Than Just Forks and Spoons
Your utensil caddy can hold spatulas, whisks, and even small lids. Keeping these items upright frees up valuable horizontal space on the main rack.
If your caddy feels too small, try rotating items so handles face different directions. This can help prevent overcrowding in one section.
Some people also use a separate small cup for longer utensils. It’s a simple dish rack solution that keeps things from tipping over.
Also Read: 6 Ways to Organize Spices When You Cook Often
3. Angle Plates and Bowls to Maximize Drying Rack Space
Positioning dishes at a slight angle allows water to drain off more easily. It also creates gaps between items, which can make the rack look less packed.
Place plates in alternating directions if your rack allows it. This staggers the height and width, giving you more room to fit additional pieces.
Just keep in mind that angling too steeply might cause smaller items to slip. Find a balance that works with your rack’s design.
4. Dry and Put Away Items Between Loads for a Clear Dish Drainer
You don’t have to wait until everything is bone dry. Towel-drying a few pieces after 10 or 15 minutes can open up space for the next round.
This habit can be especially helpful after cooking big meals. Clearing the rack between dish loads keeps your counter from looking overwhelming.
It also reduces the chance of dishes piling up and creates a more manageable kitchen drying rack routine.
Read More: 6 Ways to Organize Deep Drawers That Turn Into Catch-All Spaces
5. Skip the Rack for Items That Dry Faster on a Towel
Cups, small bowls, and lightweight plastic containers often dry quickly when placed upside down on a clean dish towel. This approach saves rack space for items that need better air circulation.
Towel drying works well for non-porous materials. Wood and cast iron might need different care, but most everyday dishes handle this method just fine.
You can dedicate one section of your counter to towel drying. It’s a flexible dish drying system that adapts to your needs.
6. Clean Your Dish Rack Weekly to Prevent Clutter Buildup
Mineral deposits, soap scum, and food particles can accumulate on the rack’s surface. When the rack itself is dirty, it’s harder to see how much space you actually have.
A quick scrub with warm soapy water keeps everything looking fresh. Pay attention to the utensil holder and drainage tray, as these areas tend to collect the most residue.
Regular cleaning might also help you spot any damaged or bent parts. A well-maintained rack functions better and looks less chaotic.
7. Consider Compact Dish Rack Options for Limited Counter Space
If your current rack takes up too much room, a smaller or collapsible model might be worth exploring. Some designs fold flat when not in use, which can free up counter space during meal prep.
Look for racks with adjustable components. Removable utensil holders or expandable tiers can give you more control over the layout.
Vertical racks or over-the-sink models are other options. These designs use different areas of your kitchen and can help reduce visible clutter.
Also Read: 7 Fixes for Meal Prep Containers That Don’t Store Well
8. Limit What Goes on the Dish Drying Rack at One Time
Not everything needs to go on the rack immediately. Pots and pans can air dry on the stove, and baking sheets can lean against the backsplash.
Prioritize items that benefit most from airflow, like glasses and bowls with concave shapes. Flat items like cutting boards can dry elsewhere without issue.
Setting a mental limit for what goes on the rack can help prevent overcrowding. It’s a simple shift that keeps your kitchen counter organization in check.
Extra Tips for Managing Your Dish Rack Storage
Rotate your dishes regularly so the same items aren’t always sitting on the rack. This prevents water spots and keeps things cycling through your cabinets.
If you have a two-tiered rack, use the top level for lightweight items like plastic containers. Heavier dishes on the bottom provide stability.
Some racks come with removable trays or mats. Swapping these out when they get grimy can make the whole setup look cleaner.
FAQ
How do you organize a small dish drying rack?
Start by loading larger dishes first, then fill in gaps with smaller items. Use the utensil holder for vertical storage and consider towel-drying pieces that don’t need much airflow.
Angling dishes slightly can also help you fit more on the rack. Keep an eye on spacing to ensure proper drainage.
What’s the best way to dry dishes without a rack?
Place dishes upside down on a clean towel spread across your counter. This method works well for cups, bowls, and lightweight items.
You can also lean baking sheets or cutting boards against the backsplash. Air circulation helps things dry without taking up rack space.
How often should you clean a dish drying rack?
A weekly scrub with warm soapy water can prevent buildup of soap scum and mineral deposits. If you notice residue forming faster, clean it more often.
Don’t forget the drainage tray and utensil holder. These parts tend to collect the most grime and benefit from regular attention.
Why does my dish rack always look messy?
Overloading the rack can cause items to overlap and lean awkwardly. When dishes don’t have enough space, they don’t drain properly and the rack looks cluttered.
Try limiting what you load at once and angle items for better spacing. Regular cleaning also helps maintain a tidier appearance.
Can I use a dish drying mat instead of a rack?
Drying mats work well for lightweight items and can save counter space. They’re especially useful for cups and bowls that dry quickly.
Keep in mind that mats don’t provide the same airflow as racks. Items with concave shapes might take longer to dry completely.
Should I replace my dish drying rack if it’s always crowded?
Not necessarily. First, try adjusting how you load it and see if that helps.
If space is still an issue, consider a rack with adjustable components or a different layout. Sometimes a compact or vertical design can make better use of your available counter space.
What’s the best material for a dish drying rack?
Stainless steel racks tend to resist rust and are easy to clean. Plastic racks are lightweight and often more affordable.
Bamboo or wood racks can add a natural look but might require more maintenance. Choose based on your kitchen’s needs and style.
How can I keep my dish rack from sliding around?
Look for racks with rubber feet or non-slip bases. These features help keep the rack stable, even when loaded with heavy dishes.
You can also place a silicone mat underneath. This adds grip and protects your counter from scratches.
Keep Your Dish Drying Rack Working for You
Small changes to how you load and maintain your dish drying rack can make your kitchen feel more organized. Try a few of these strategies and see which ones fit your routine.
A less crowded rack means clearer counters and a tidier space overall. Start with one or two adjustments and build from there.